
Want to create a beautiful Group Itinerary in minutes? Use our Trip Template or build your own.
.png?width=350&name=Black%20Moon%20Blog%20Banner%20(57).png)
Welcome to YouLi - the best group travel platform built by YouLive to Travel.
It's easy to create your first trip! Follow this checklist to get started and share your itinerary with the world or with your private audience.
TIP: Need branding? Follow our quick and easy guide to set up your account.
Step 1: Create a Trip
In order to share a TRIP PAGE with your customers to book and pay for your trips, you need to "CREATE A TRIP". You can then embed this into your website.
SUGGESTION: Check the Quick Start Guide Video to get a quick look at all the things we will cover in more detail through this checklist.
You can start your trip creation by:
- Using the default template "JORDAN FOR THE ADVENTUROUS" pre-made trip in your account - use this template to build your own trip, or even just go there to explore what a finalized trip looks like.
- OR, if you’re feeling confident and have your itinerary ready click on
- ACCOUNT > TRIP DASHBOARD > CREATE TRIP
- And follow the prompts to set up your TRIP
NOTE: Don't worry! You can update everything you choose later by clicking on UPDATE TRIP, so nothing you set at this stage is final.
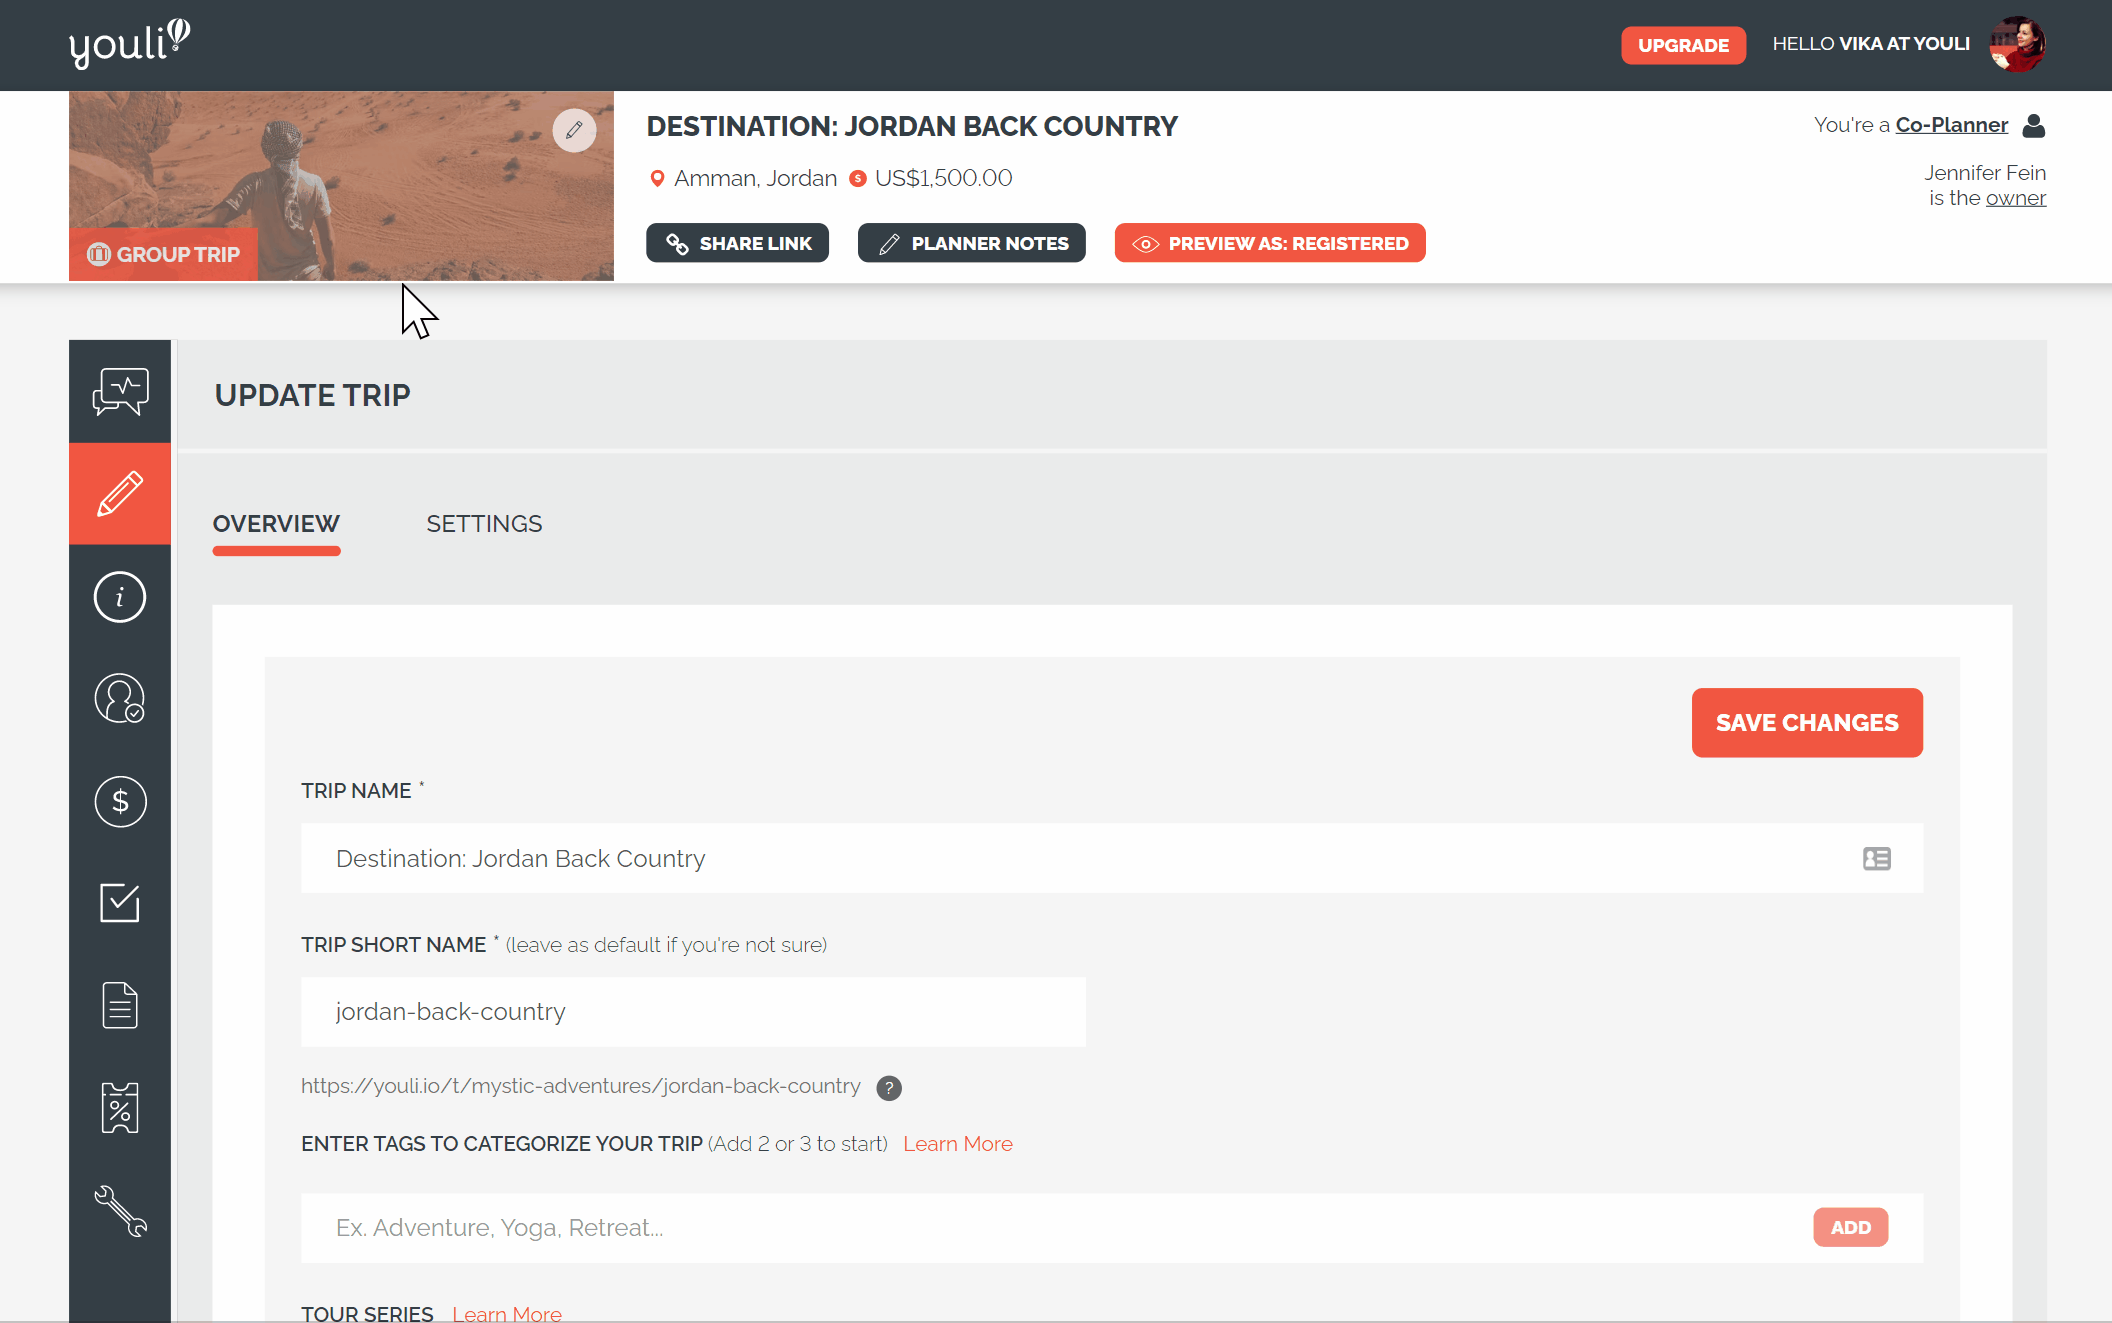
Step 2: Trip Overview
- TRIP PRIVACY - Private mode allows you to choose who has access to the trip by sending them a MAGIC LINK. The public option allows anyone to sign up with a link!
- DATES - Nothing set in stone? No worries, you can leave them off for something broader, like ‘Summer 2020’ by clicking "Not sure? Switch to enter free text."
Don't know the dates yet? 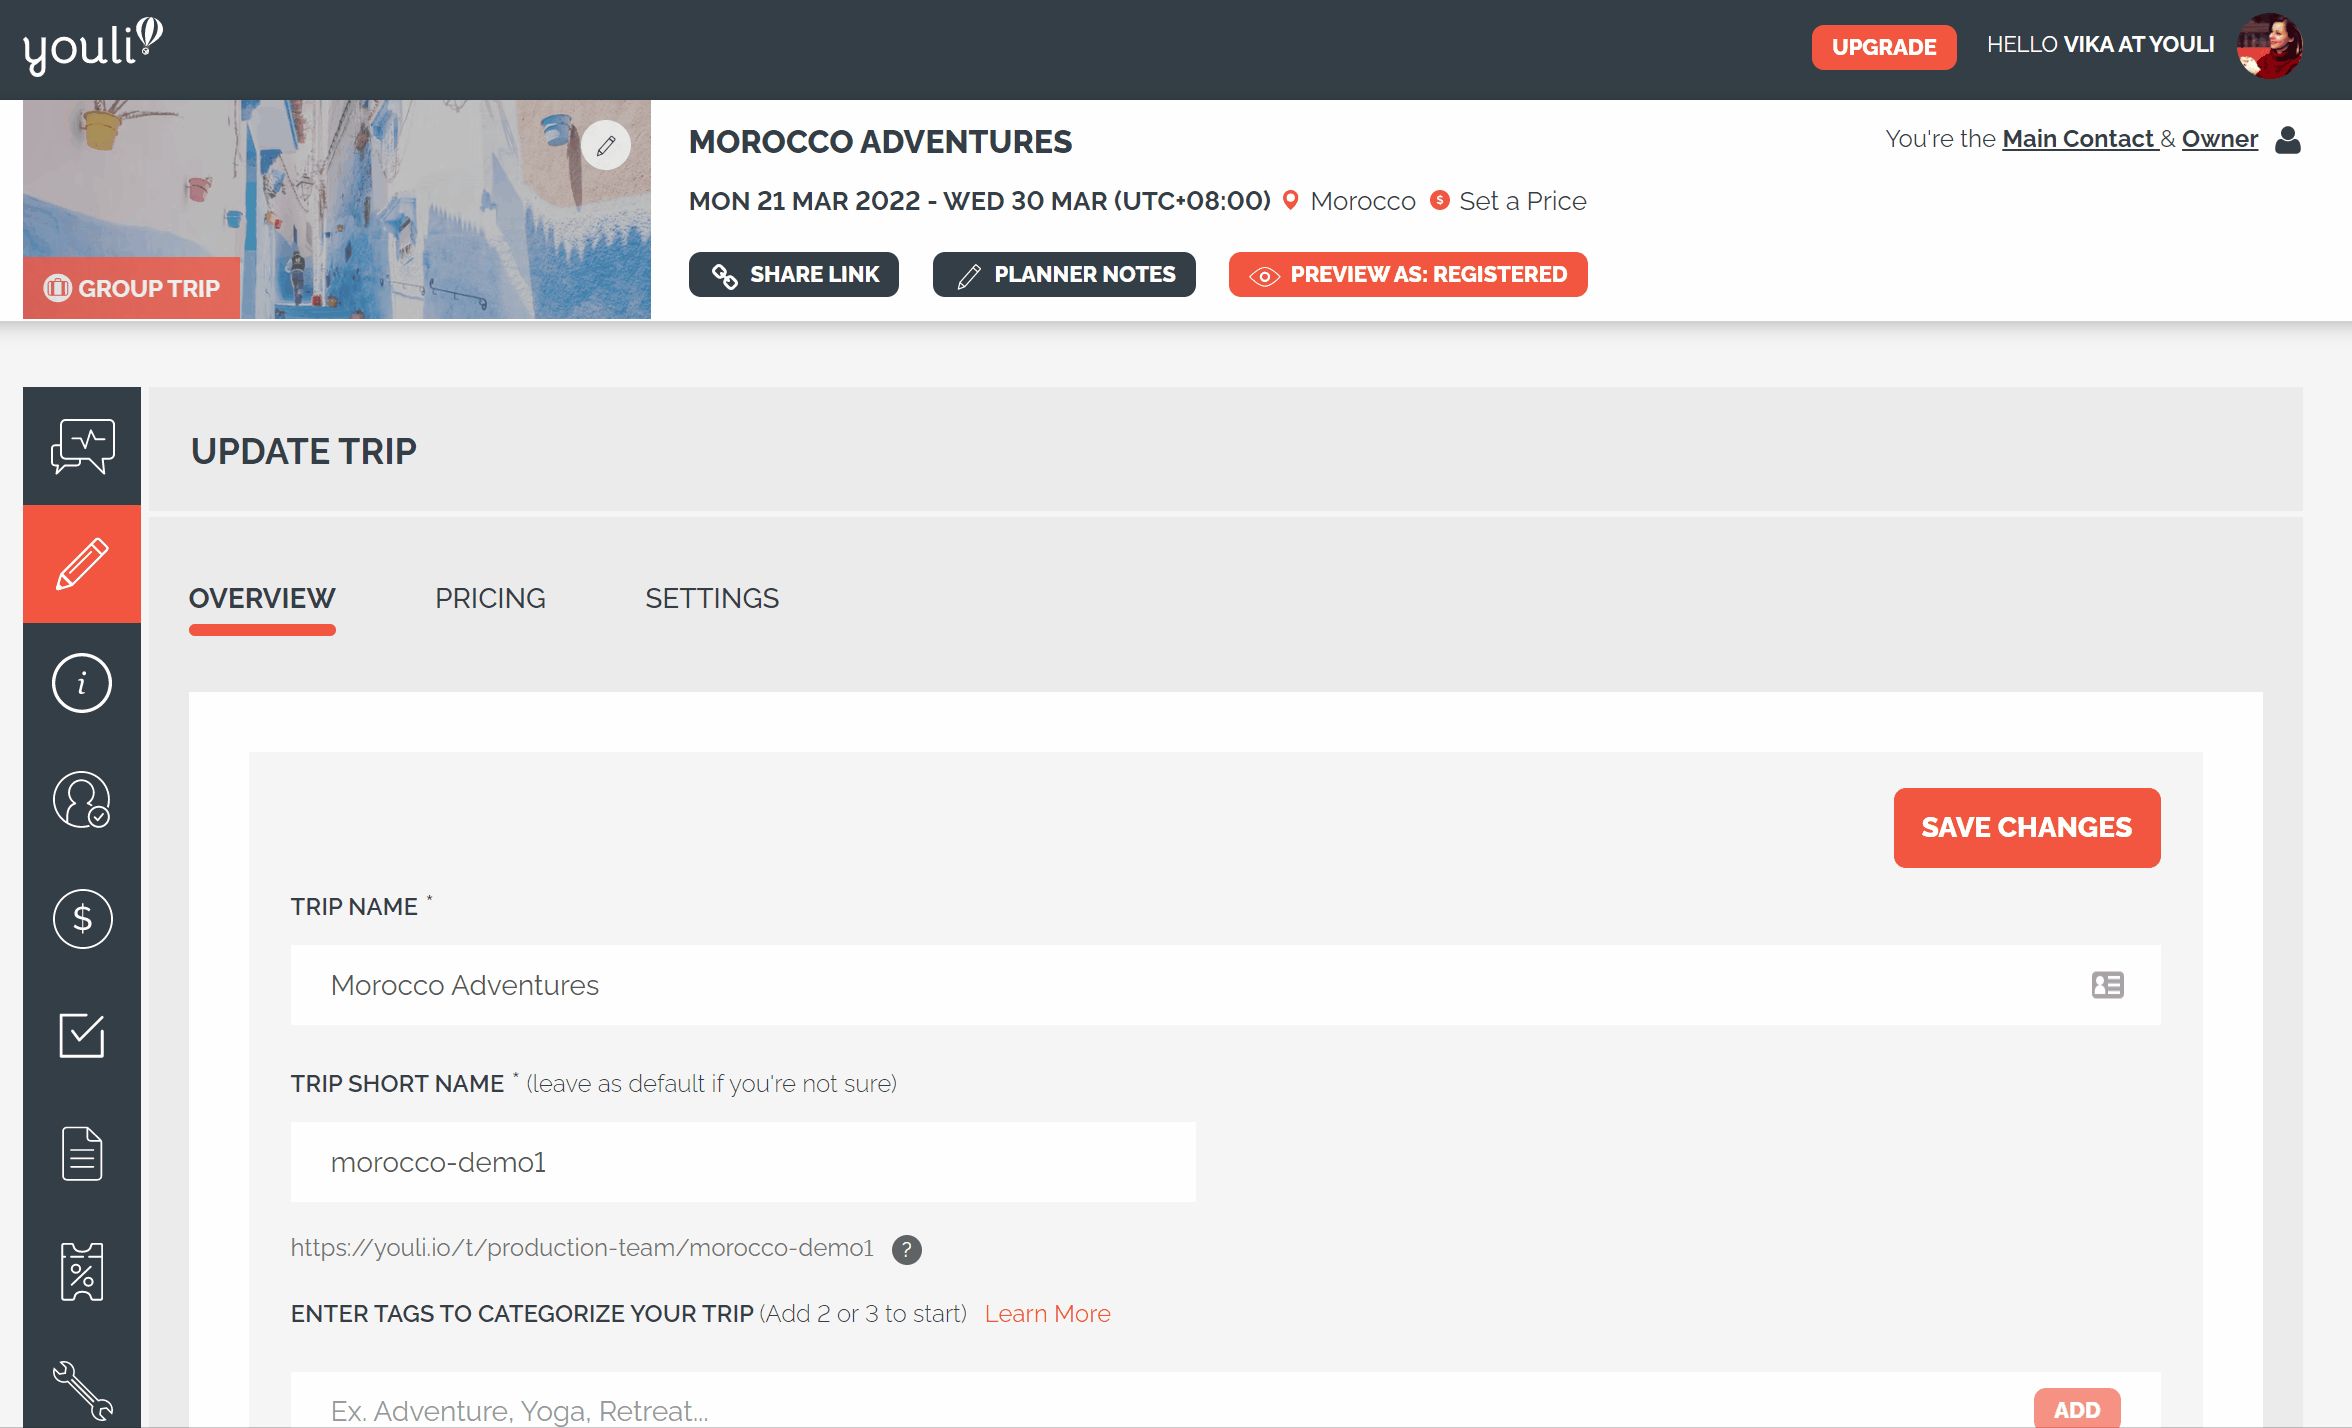
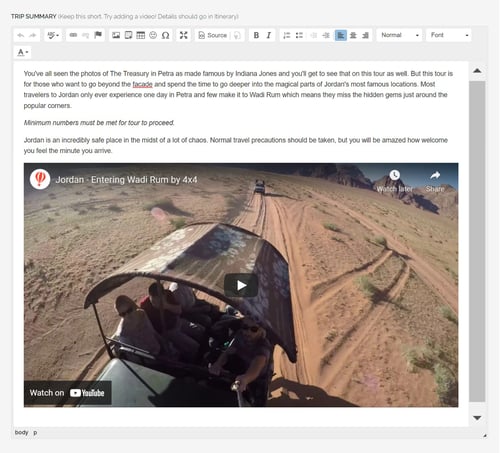
- TRIP SUMMARY - Keep this short! A brief summary of your trip, best to keep to one paragraph or even add a video by clicking the media icon in the toolbar, it's the funny square with a plus symbol in it.
Look for this symbol in the bar to add video: ![]()
BANNER IMAGE - Your banner is the first thing travelers will see! Just click on the image in the top left corner of the trip.
You can:
- Upload your own image; OR
- Select from a large library of FREE images thanks to UNSPLASH, just search using keywords.
Step 3: Itinerary Items
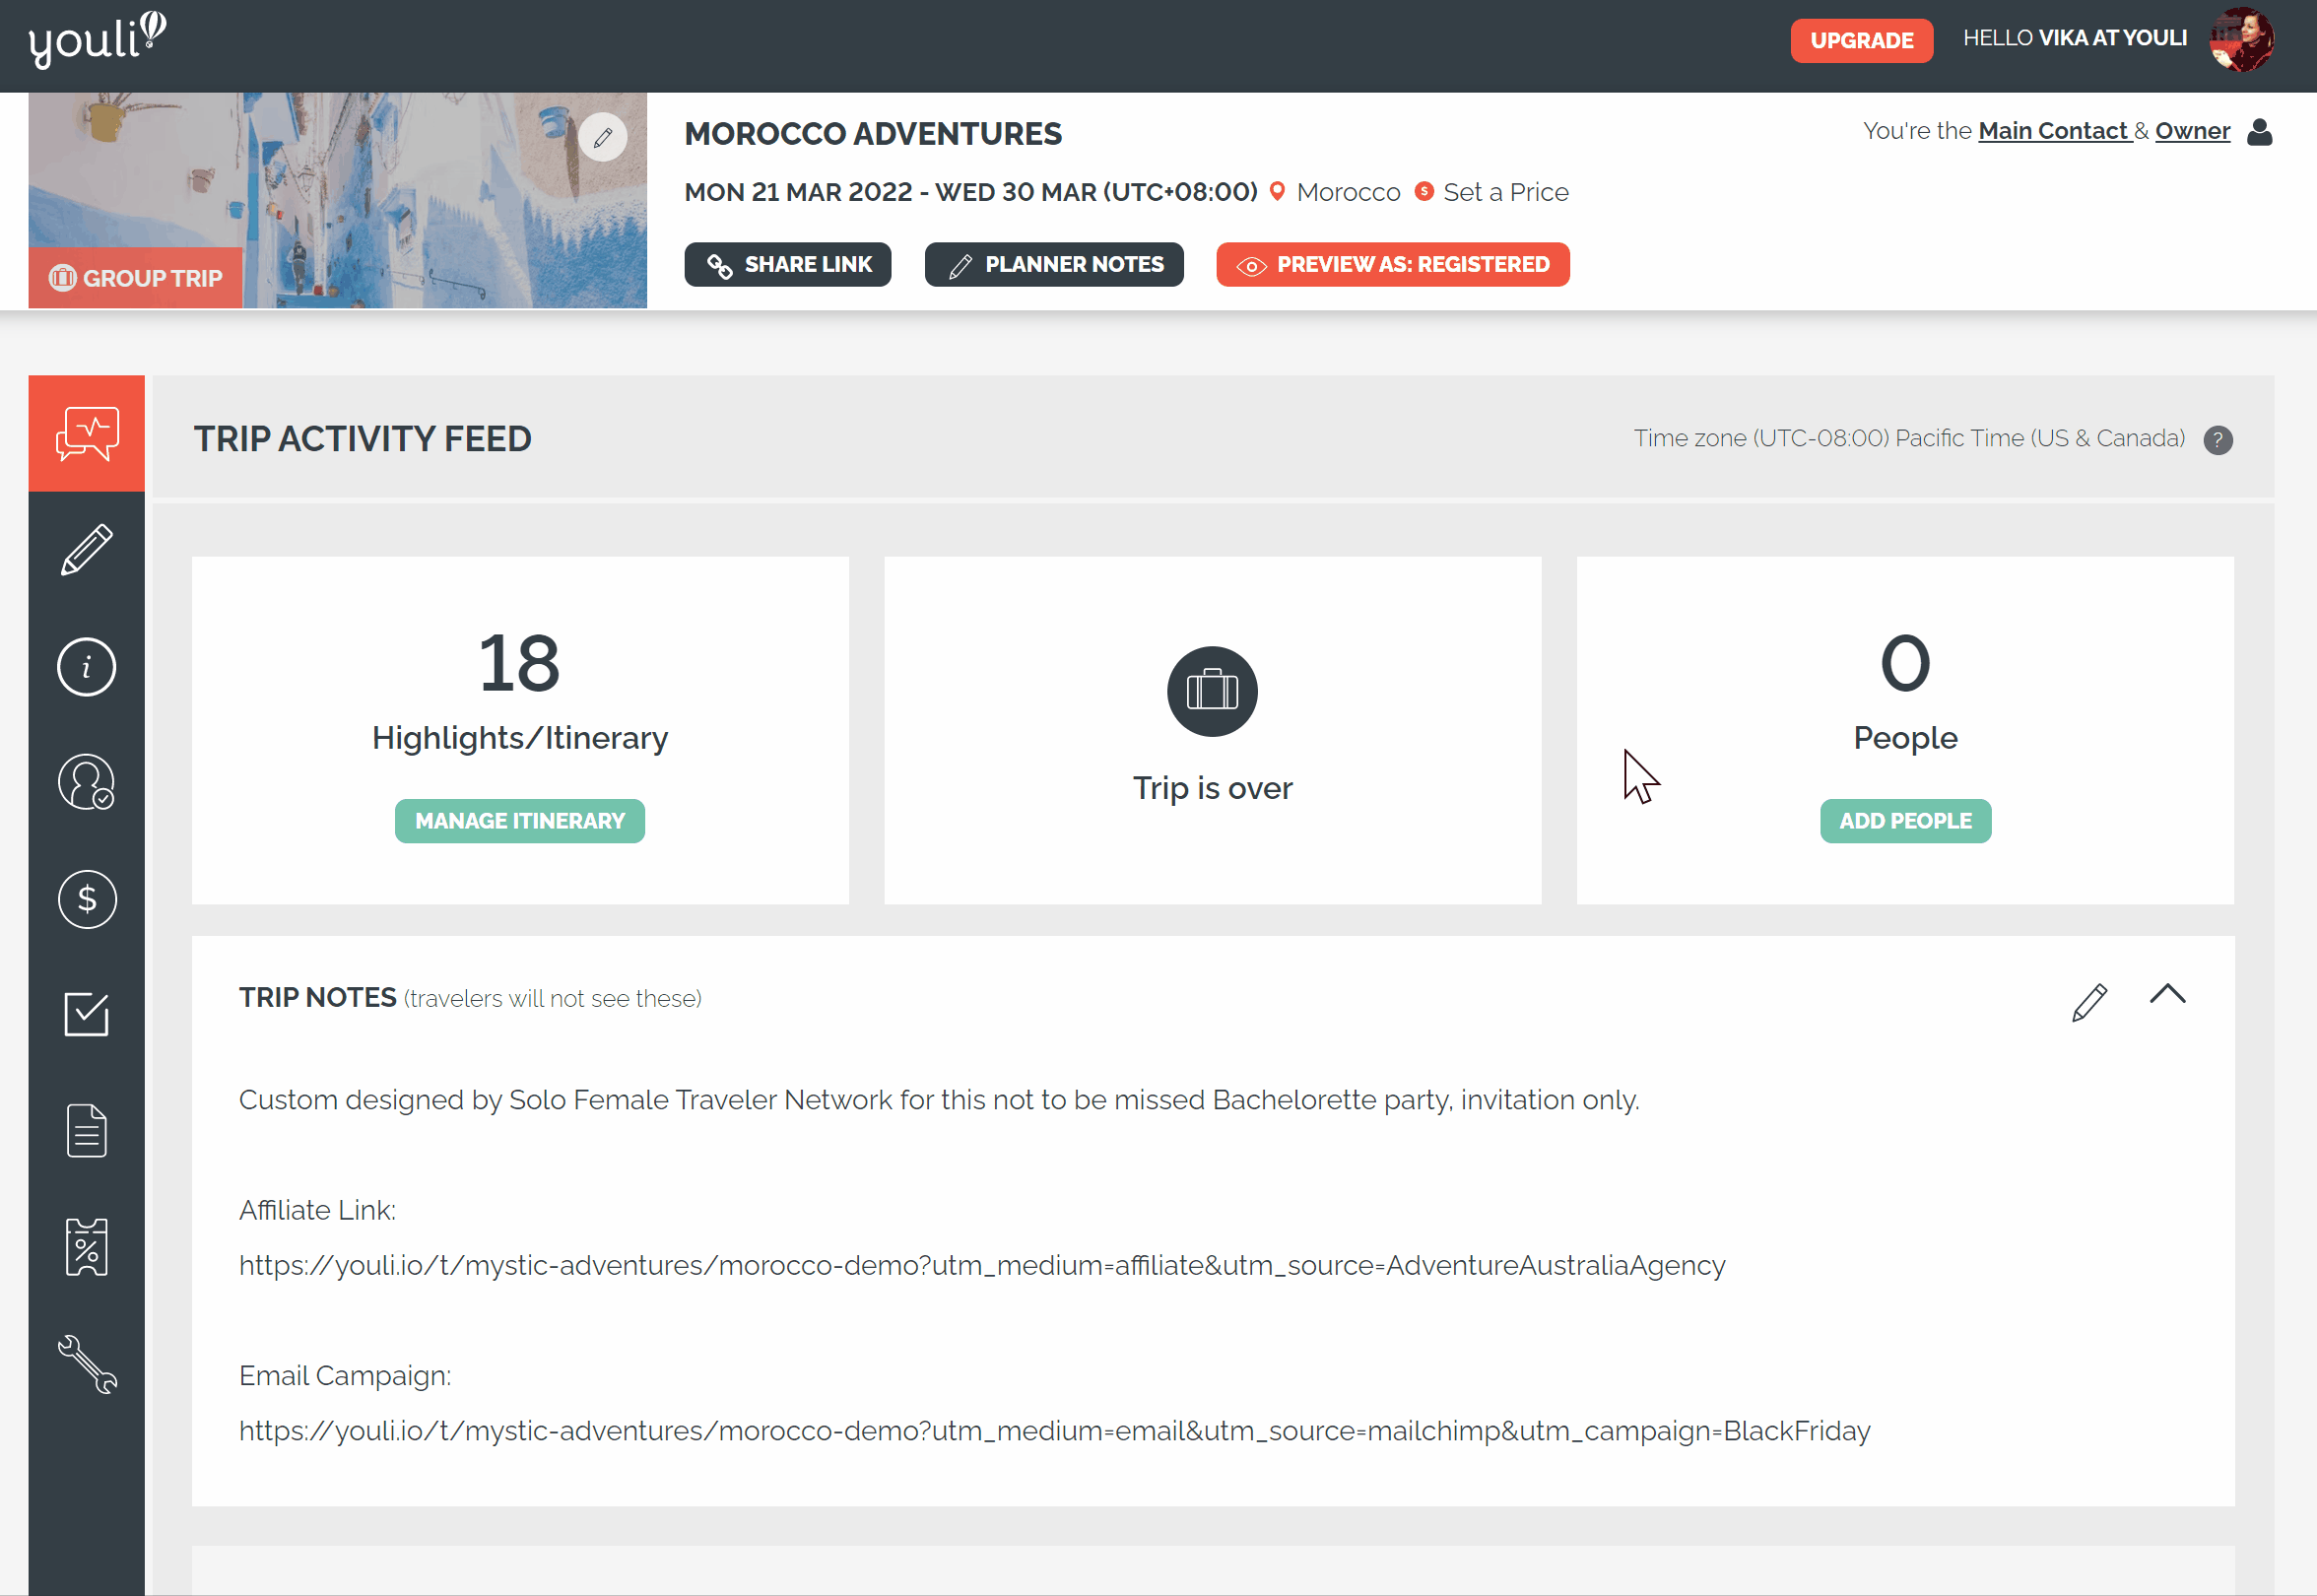
NOTE: Your ITINERARY is where you will share with your travelers all the adventures and things you will be doing on the trip.
Click on MANAGE HIGHLIGHTS & ITINERARY.
"JORDAN FOR THE ADVENTUROUS" default TRIP TEMPLATE includes an itinerary you can use for inspo (Aussie for inspiration) that demonstrates OPTIONAL ITEMS.
- HIGHLIGHT ITEMS - These are the reasons that your travelers are going on this trip. Those top experiences you are going to take them on. These are displayed with the photo as the focus, with the text less emphasized. You cannot specify a date, but you can choose the order in which they appear.
- ITINERARY ITEMS - The specifics of the trip. Use these to make sure all the details are provided on a day-by-day basis. If your trip has dates set, then you can pick a date + time for your items, if not, then you can select the days.
TIP: You can create a BROCHURE ITINERARY without dates and when you set your trip dates, the itinerary will update automatically! Too Easy!
- IMAGES - Don’t forget to update the image on each item. Note that images are shown differently depending on the type of item. Play around and see what works best for you. If you would like a little more support on inserting those images, watch this YouLi How-To: Add Formatting, Links, Images, and Videos to Descriptions video.
Step 4: Price & Payments
This is where you will price out the COST and share PAYMENT OPTIONS with your travelers.
TIP: Be sure to update the PRICING EXPLANATION from the sample wording provided
- ESTIMATED PRICE - By default, an ESTIMATE of the price will show to everyone who goes to your TRIP PAGE. We know that sometimes the price isn't set when you first start promoting, so feel free to leave it blank or simply put "Price varies" if you create custom prices for each person.
- FINALIZED PRICE - if you want to get paid: Click "
 Switch to BOOKINGS MODE to start taking payments" so you can enter the actual PER PERSON (PAX) price.
 - PRICING PACKAGES - Once in a BOOKINGS MODE, you can add PACKAGES and customize PAYMENT OPTIONS. There are many ways you can define your PACKAGES. Watch this video to learn more: YouLi How-to: Payment Options.
To add more packages, UPGRADE to YouLi premium subscription.
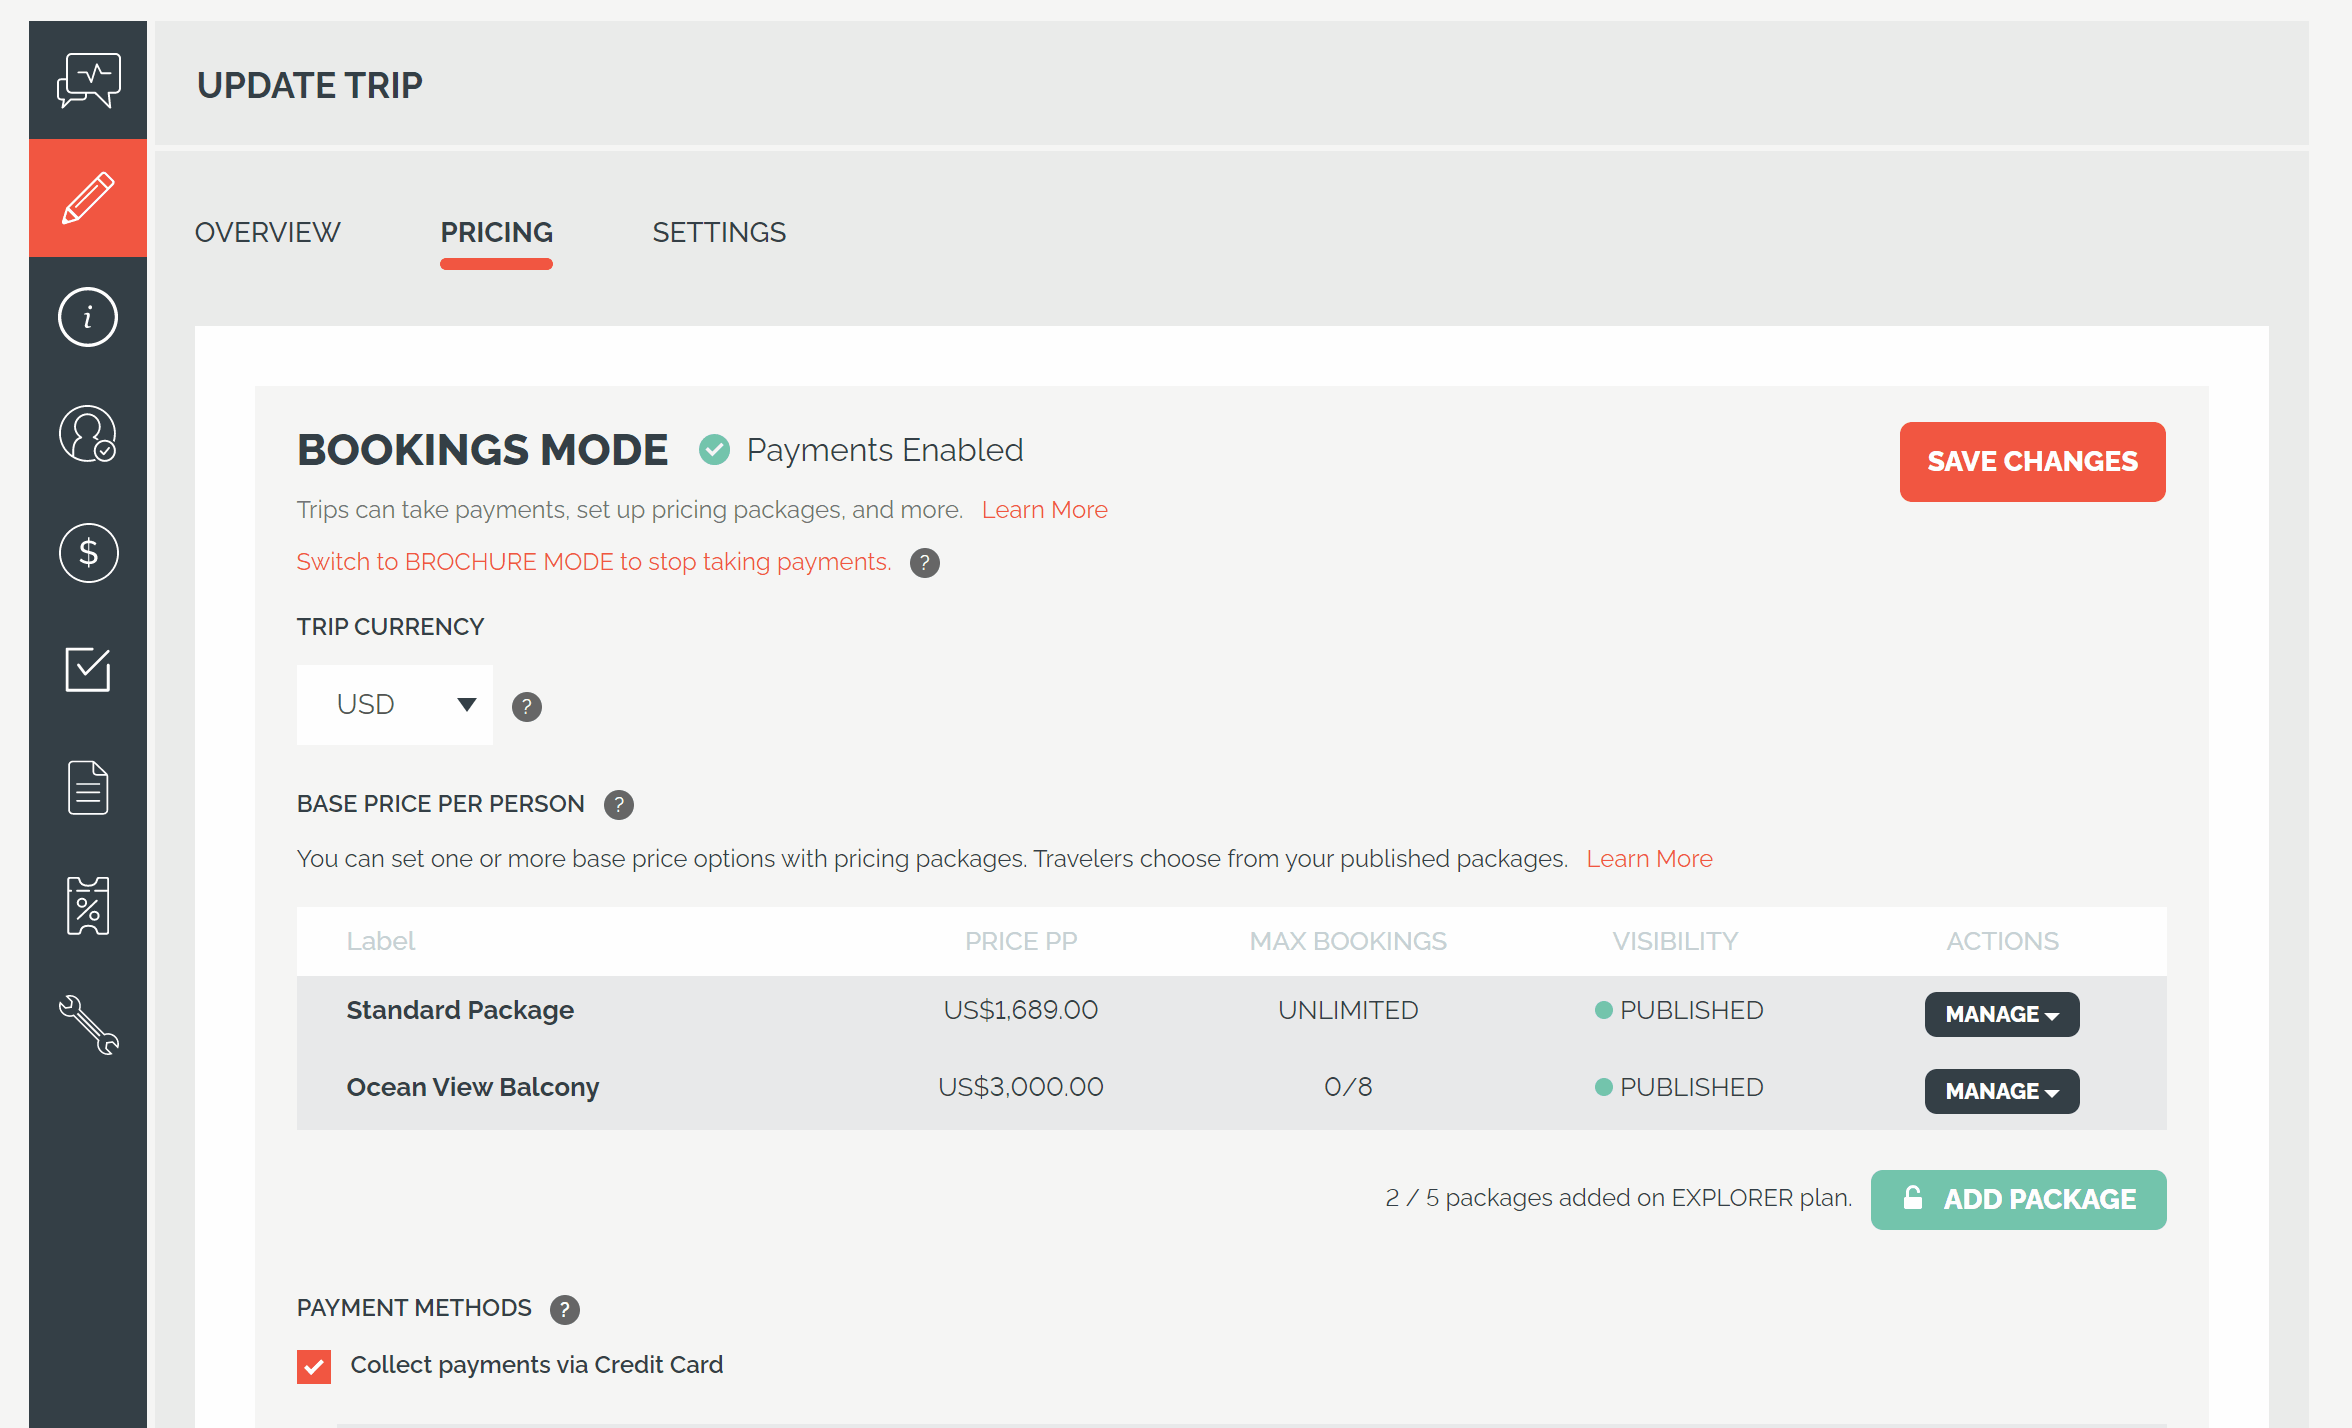
- DUE DATES - Provide a due date for and turn on AUTOMATED REMINDERS for the BALANCE DUE by clicking the pencil.
- INSTALLMENTS - Add installments to be paid by clicking on + ADD deposit. Discover all the ways you can customize installments in this YouLi How-to: Changing Percent Installments to Fixed Payments video.
Watch YouLi How-to: Collect Deposits on the YouLi Platform to learn more about collecting deposits from your travelers & sending reminders. - PAYMENT METHODS - In order to collect payments by credit card, you will have to set up your Stripe or Square details in your ACCOUNT settings. OR if you want to learn more about integrating PayPal as a payment option, watch this YouLi How-to: Integrate with PayPal.
- INDIVIDUAL PRICES - You have the ability to change the price of the trip for each traveler. If you want to set specialized prices for travelers you can do so in their accounts. It is here that you could maybe include a discount, for a single traveler or some people. For support watch this YouLi How-to: Set Individual Price for Each Person video on setting an individual price for specific travelers.
Step 5: Settings
You can change almost all the labels on the TRIP PAGE to match your desired customer experience.
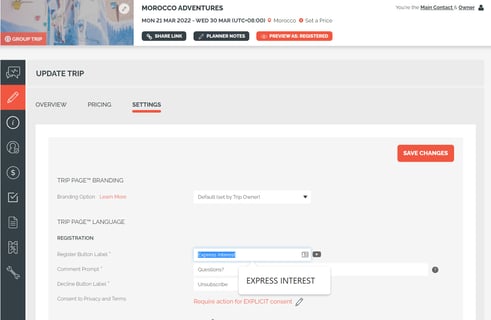
- Registration button 'CALL TO ACTION' (or CTA) - defaults to 'EXPRESS INTEREST'
- INVITATION GROUPS
- REGISTRATION PROMPTS
- REGISTRATION CONFIRMATION MESSAGE
- TRIP PAGE MENU labels
- and many more...
To learn more about the difference between the PRICING EXPLANATION Header & the PRICING MENU Label, watch this YouLi How-to: Pricing Explanation & Menu on the YouLi Platform video.
Step 6: Tasks & Resources
TASKS & RESOURCES is where you will be able to collect completed waivers and passport scans FROM your travelers as well as provide important information TO your travelers.
Read why a YouLi TRIP PAGE is not like your boring old reg form - it's so much better!
- TASKS are how you manage what you need to gather FROM your travelers to ensure they are ready for your trip and how you ensure the information you need to give TO them is received.
The number of TASKS you can add depends on your YouLi subscription. TASK responses are PRIVATE to each traveler, so rest assured no one besides Planners (or other participants in their INVITATION GROUP) can see their responses.
- RESOURCES are links/documents/videos/photos that you want to share with your travelers. Resources MUST be attached to Tasks, to ensure your travelers confirm they have read them.
- UPLOADS are the documents your travelers provide to you when they complete your TASKS. Watch this overview YouLi How-to: Resources & Tasks video for more info.
TIP: Your Travelers can see resources and their uploaded files and download them in the RESOURCES section of their TRIP PAGE. You can re-label this for Travelers.
- TASK VISIBILITY - Change the ASSIGNED TO on a TASK o pick which travelers will be prompted to complete the task, watch this YouLi How-to: Task Visibility video for a more detailed walk-through.
- RESPONSE TYPE - There are many types of responses to a task from Yes/No to full Passport details. Discover all the pre-set task responses in this video: YouLi How-to: Change the Task Response Type.
- ADD A RESOURCE TO A TASK - Sometimes you need to share a safety video with your travelers or submit passport info, right? Here is YouLi How-to: Add Resource to Task video that outlines how to add a resource (doc, vid, image) to a task (something you need your travelers to do).
- DISABLE/ENABLE TASKS FOR ONE TRAVELER - If you need to enable or disable a task for certain travelers, you can do that in the task itself. Check this YouLi How-to: Disable Task Notifications for one Traveler video for a walk-through. It also outlines how you can answer tasks for your travelers.
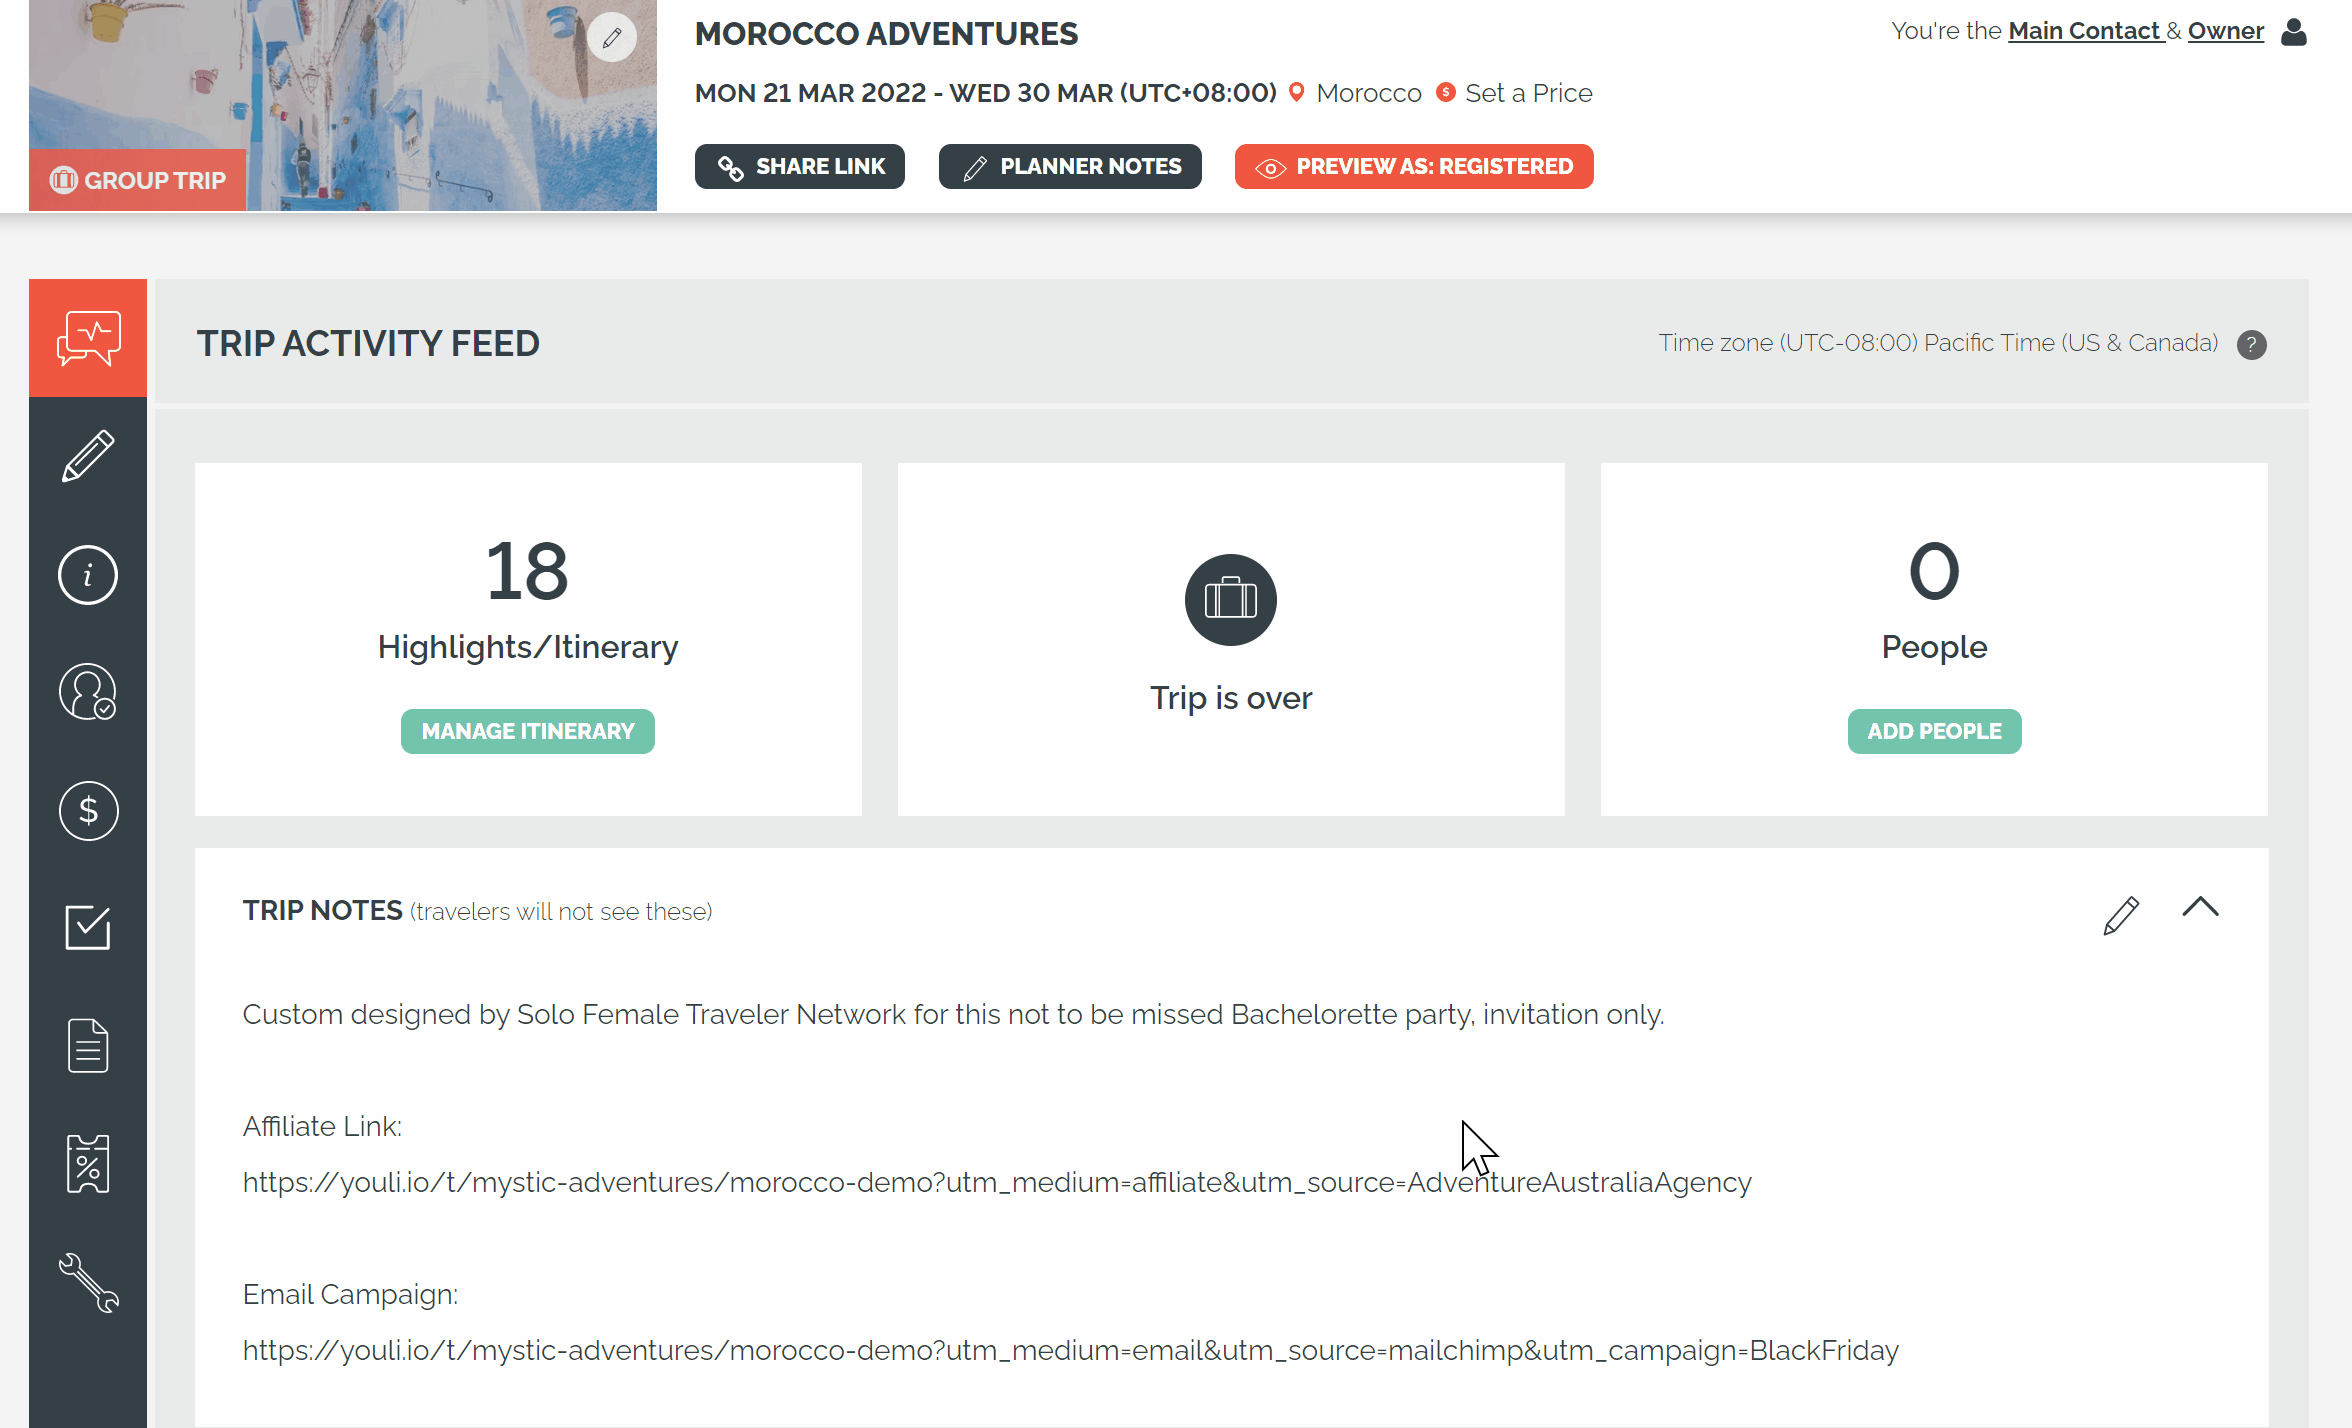
Step 7: Preview the Trip as a Traveler
This desktop and mobile-friendly view of your trip is called a TRIP PAGE.
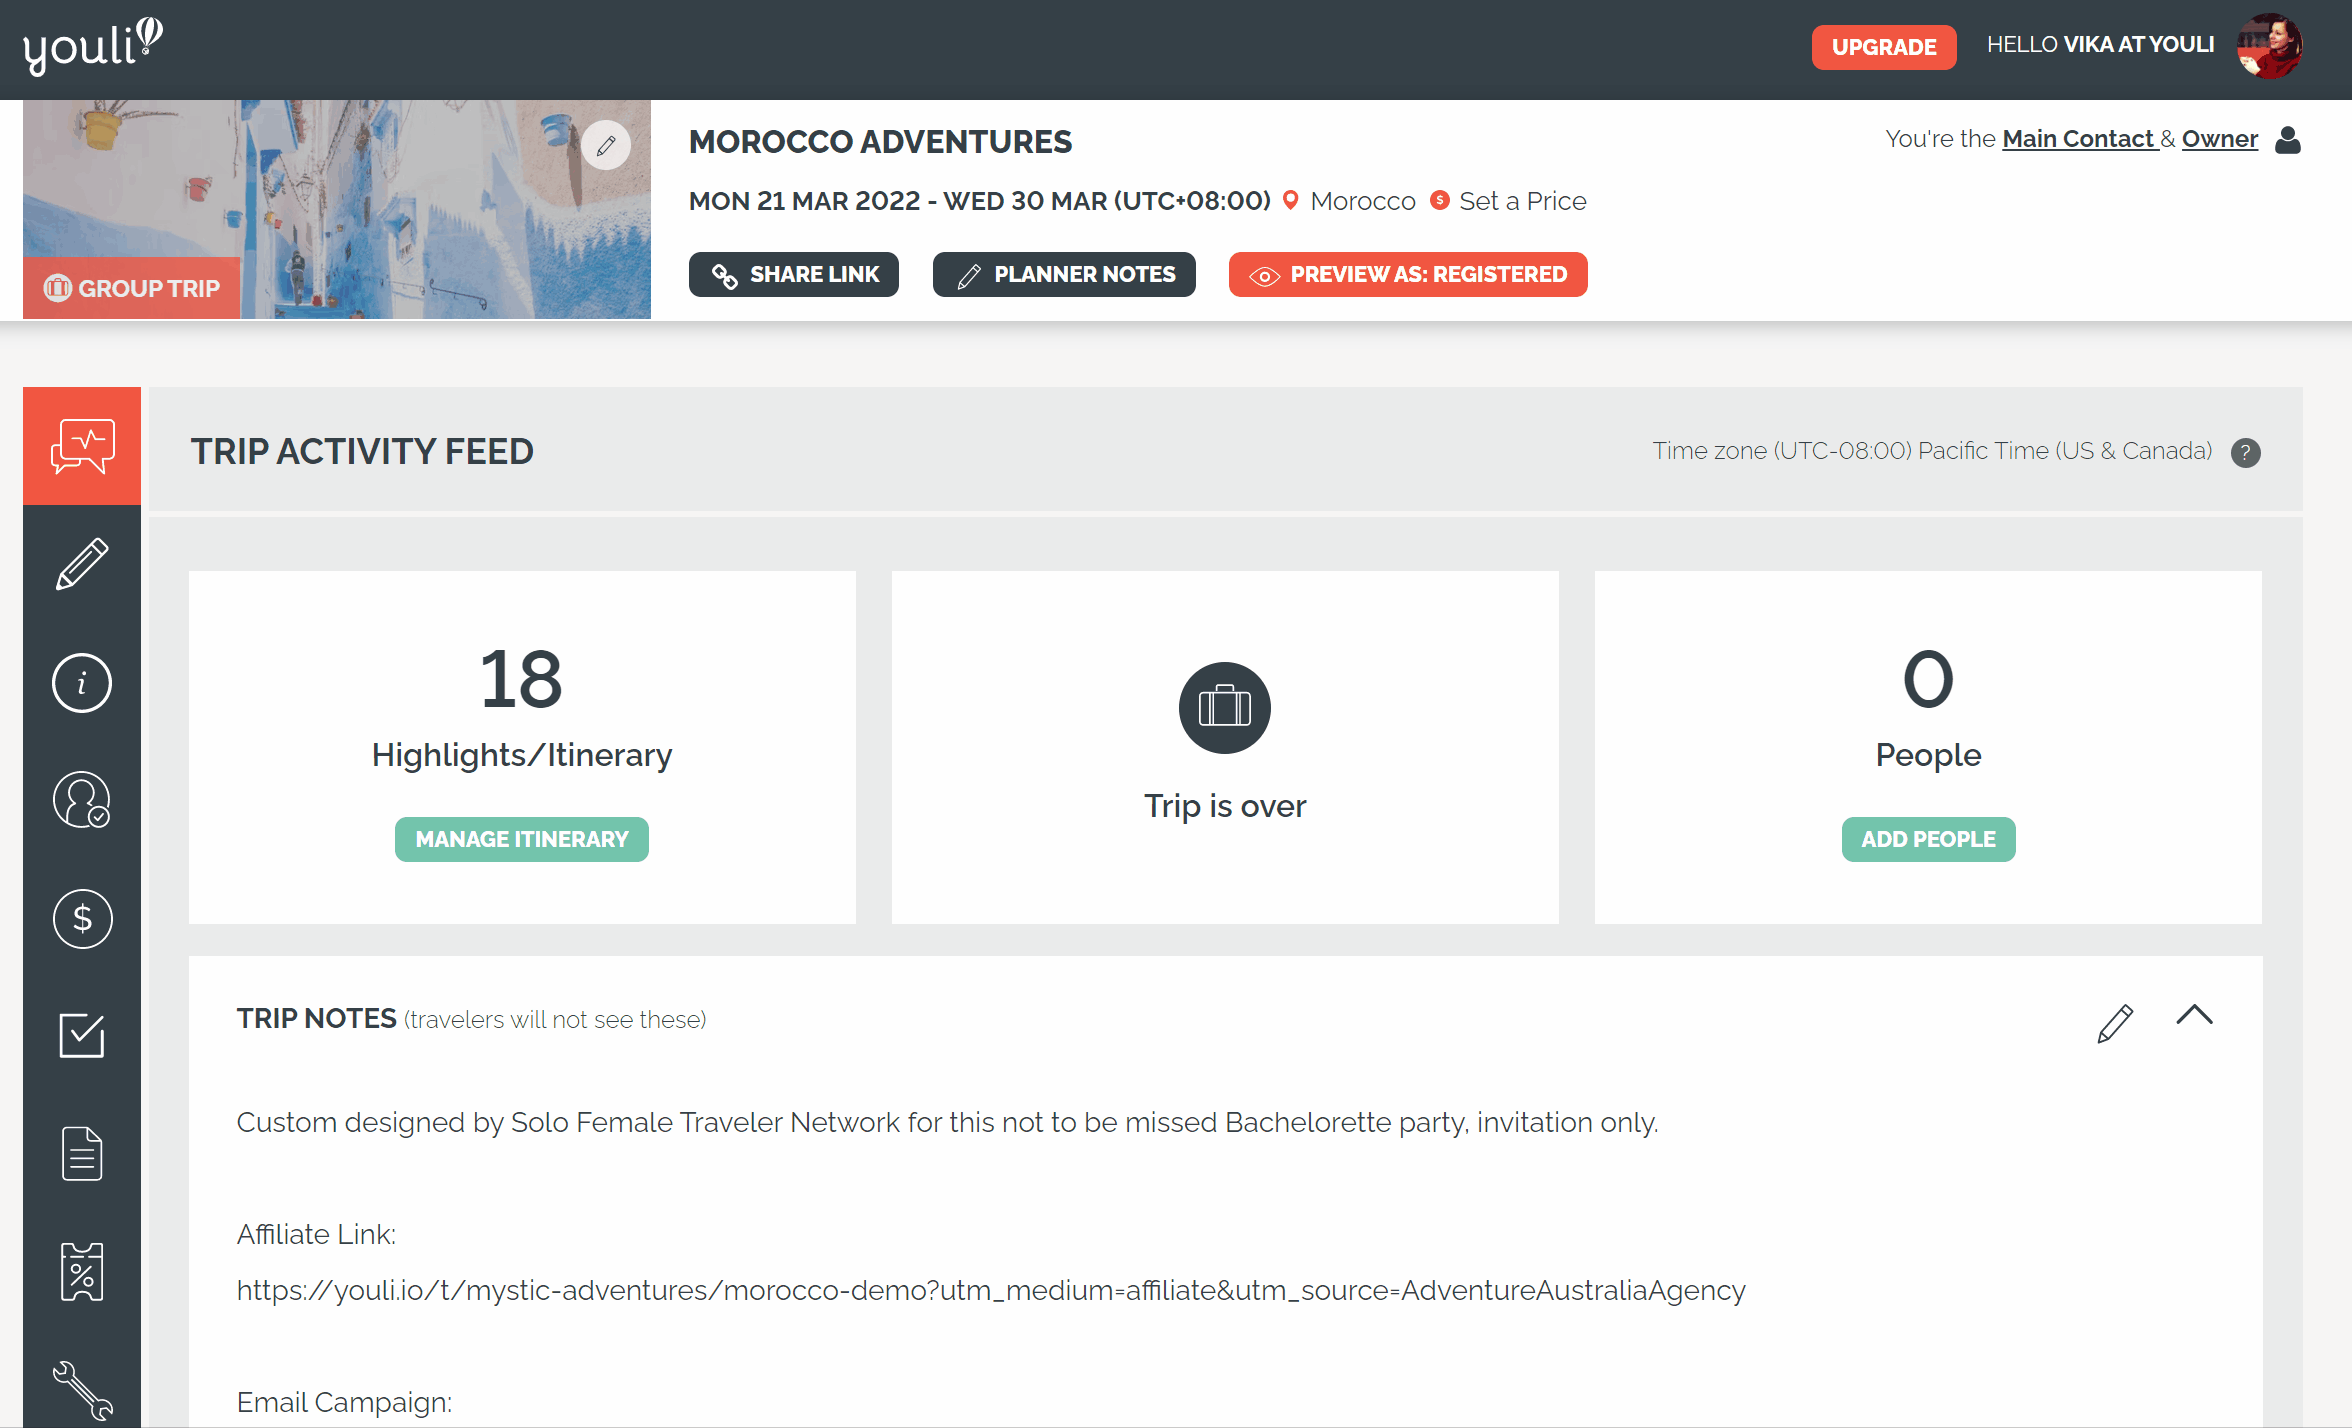
Preview your Trip at any stage to view it as a traveler by clicking ‘PREVIEW AS: REGISTERED’ in the header. The preview shows what a Registered Traveler who has not yet paid will see. You can also view as a specific Traveler by clicking the 'VIEW AS' icon from MANAGE PEOPLE tab.
NEXT STEPS: While previewing the Trip, follow our Reviewing a Trip Checklist here.
Video Appendix:
Quick Start Guide @ YouLi Travel Experience Platform
HOW-TO Change CTA Button Label - Drive Signups on Trip Pages
HOW-TO Collect Deposits @ YouLi Travel Experience Platform
HOW-TO YouLi - Resources & Tasks
HOW-TO YouLi - Task Visibility
HOW-TO - Change the Task Response Type
HOW-TO YouLi - Disable Tasks and Notifications for One Traveler
HOW-TO YouLi - Add Resource To Task
HOWTO YouLi - Set Individual Price for each Person
HOWTO YouLi - Integrate with PayPal
HOW-TO Add formatting, links, images and videos to descriptions
HOW-TO Build the Perfect Itinerary with Program and Detailed Items
HOW-TO Cost Explanation & Menu @ YouLi Travel Experience Platform
Need more help?
YouLi team members can guide you through your first trip launch. We will host a 1:1 Zoom call with your team, then follow up to make sure you are happy with the setup. Book your onboarding session to schedule the call.